


“I don’t have 18Ks. I don’t have M40s. How can I create cinematic lighting?” It’s one of the most common challenges filmmakers face. The great news is that powerful storytelling isn’t always about having the biggest lights. It’s about creatively shaping the light you already have.
In this exclusive lesson excerpt, we provide a detailed written breakdown of the first lesson from our comprehensive new course, How To Light Day Interiors: Volume 3. This article is designed as a thorough learning aid, walking you through every step of Shane Hurlbut, ASC’s on-set process. To see these techniques come to life and watch the full video lesson, we’re offering it completely FREE. Just CLICK HERE to start watching! This is a showcase of ingenuity, on-set problem-solving, and proof that with the right techniques, you can achieve stunning, cinematic results without ever plugging in a single light.
What You Will Learn in This Article:
|
This article is an excerpt from our course, “How To Light Day Interiors: Volume 3.” Discover how you can access the full course at the end!

THE SCENE & INITIAL PLAN: EMOTION AND LOGISTICS
To begin, Shane sets the emotional stage for the scene from We Are Marshall. This context is crucial because every lighting decision must serve the story. The scene features Red Dawson (Matthew Fox) and his wife (January Jones) in a quiet, somber moment. Red is wrestling with immense internal emotion, having made the fateful decision not to board the plane that crashed, killing nearly his entire football team. As they sit in silence, they begin to hear the distant chants of “We Are Marshall” from 6,000 people who have gathered outside in support.
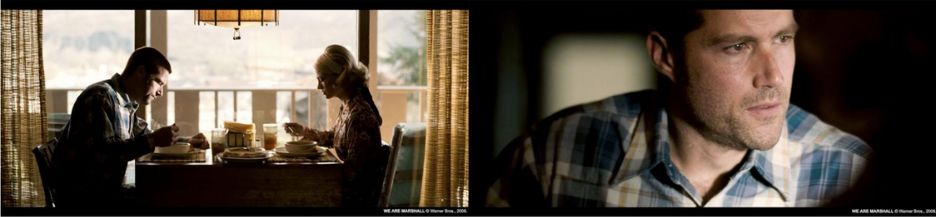
The scene contains no dialogue. Its power comes from capturing the raw emotion on the actors’ faces as they process their grief and this unexpected swell of community support. The camera plan is simple but effective: a slow dolly push-in on a 35mm lens. It starts wide to establish the environment and moves in closer to capture the performance.
STEP 1 | CAMERA PLACEMENT AND EXPOSURE STRATEGY
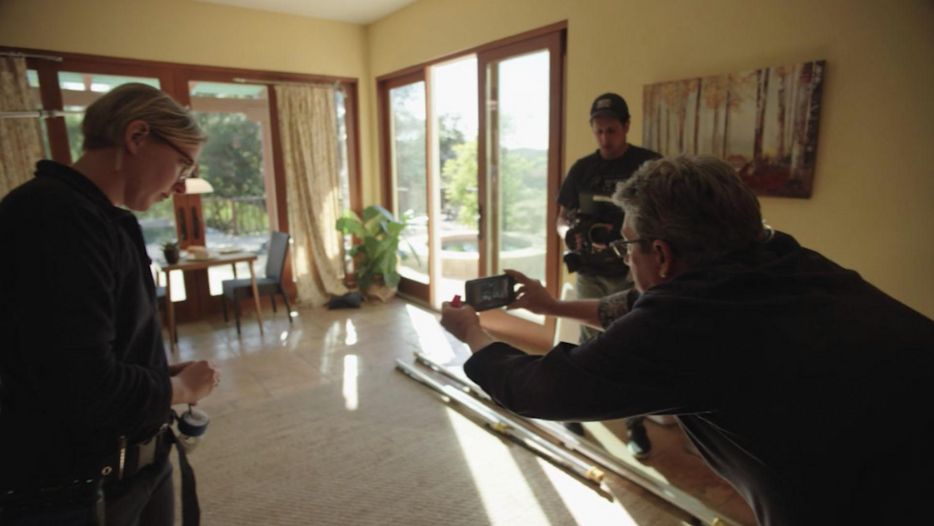
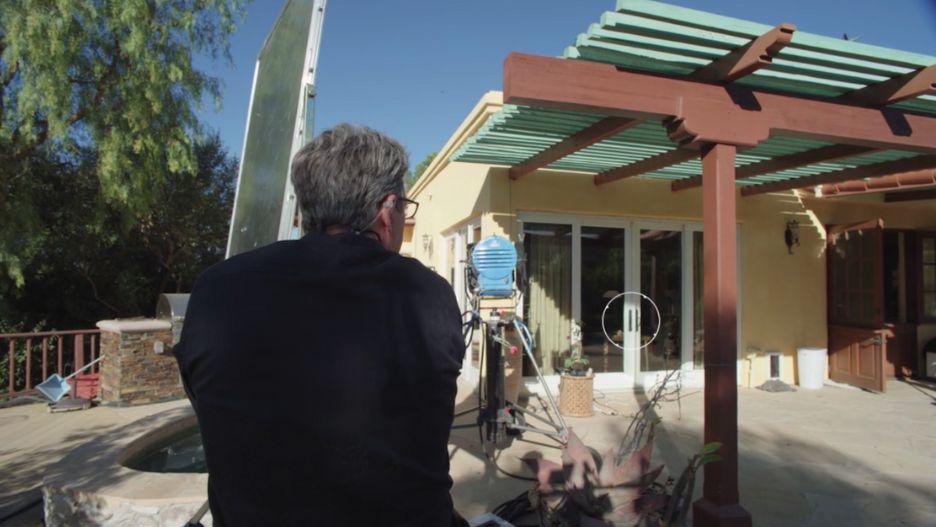
With the dolly track being laid, Shane makes his first critical decision: camera placement.
“I’m purposely going very low with the camera,” he explains, “because I kind of want to prove a point about the available light scenario.”
A lower camera angle means the bright, hot sky outside the large window will be more prominent in the frame. This intentionally creates a high-contrast challenge… How do you properly expose for the actors’ faces without the background highlights clipping to pure white? This setup forces a creative, nuanced approach to managing the natural light.
Next, Shane establishes his exposure strategy. Using his light meter, he takes a reading of the soft bounce light coming through the main door. This will act as the key light on the actors. It reads an f/11.
He then sets his exposure on the RED camera, rating the sensor at 500 ISO. This is a key part of his technique.
“I rate the RED at 500 because I like to overexpose the sensor about ⅔ of a stop,” Shane clarifies, “so I never really rate it at 800.”
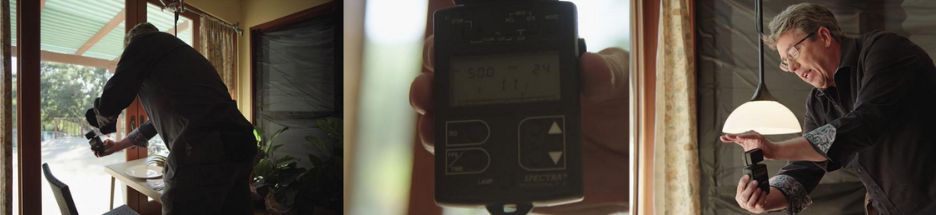
This method of slightly overexposing creates a denser, richer negative with more information, particularly in the shadow areas.
STEP 2 | SCULPTING WITH DARKNESS – THE POWER OF NEGATIVE FILL
With the window acting as a large, soft light source, the ambient light bounces around the room, threatening to make the scene feel flat and uninteresting. To combat this, the first and most important step is to add negative fill.
| NEGATIVE FILL: The process of using a black, non-reflective surface to subtract light and introduce contrast. |
For this, Shane’s team uses a simple, highly effective tool: black tablecloths from a party supply store.
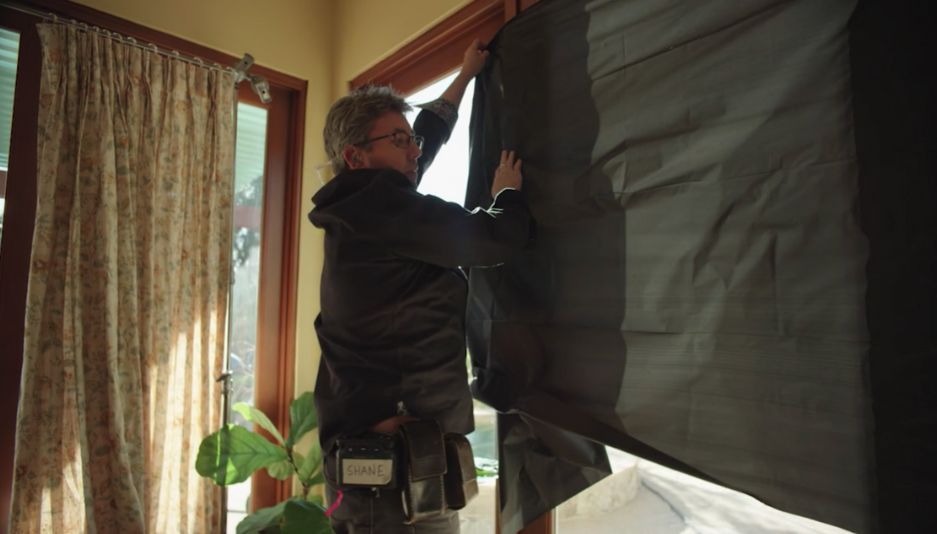
“We’ve already changed the mood in this room immediately just by taking that out,” he observes as the crew tapes the black fabric to the walls and windows camera-right.
This simple action absorbs the unwanted bounce light, creating a darker “fill side” on the actors’ faces. The result is instant shape, dimension, and a more dramatic, moody contrast that aligns perfectly with the scene’s somber emotional tone.
Shane also makes a note for later: when it’s time to shoot the over-the-shoulder coverage, they will peel back just enough of the tablecloth to get it out of frame, ensuring the negative fill still affects the primary subject.
STEP 3 | CREATING SUNLIGHT – BOUNCING AND PROBLEM-SOLVING WITH MIRRORS
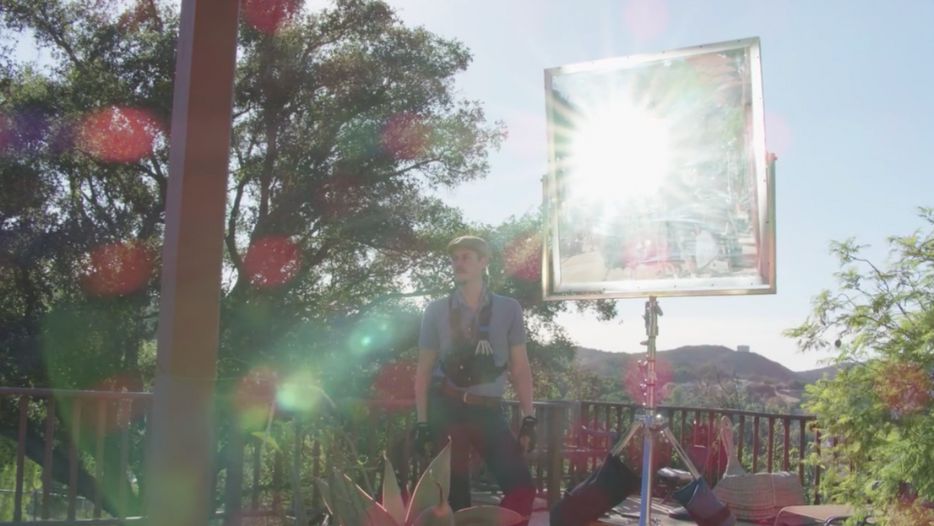
The scene is now beautifully shaped with soft window light, but Shane wants to add another layer of visual interest—a hard streak of sunlight cutting across the room. To achieve this without any powered lights, he turns to mirror boards (also known as reflectors).
 |
 |
By placing mirror boards outside, the grip team can catch the direct sun and ricochet a focused beam of hard light through the window. This creates the illusion of direct sunlight streaming into the space, adding texture and a powerful visual element. However, this technique immediately presents two common on-set challenges that must be solved.
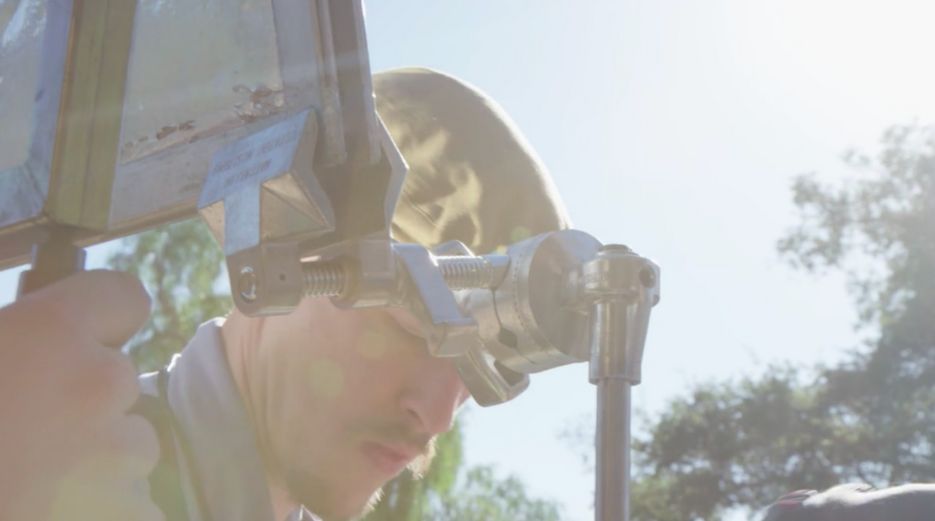
FIRST PROBLEM: WIND
As the team sets up the mirror board, the Santa Ana winds cause it to shake, making the reflected sunlight jump around erratically inside.
“You see how the thing is bouncing around like crazy,” Shane points out.
This instability would make the shot unusable. The solution is immediate and practical: a grip uses a C-stand and a Cardellini clamp to firmly grip the edge of the mirror board, stabilizing it completely against the wind.
SECOND PROBLEM: COLOR CONTAMINATION
Next, Shane addresses a more subtle but equally critical issue.
“Sometimes the mirror boards add a little green,” he states.
He uses his color meter to measure the bounced sunlight and confirms the issue: the reading is 1.4 Magenta, indicating a significant green spike that the meter is trying to compensate for. He explains why this is a major problem for digital sensors:
“The digital sensor really is sensitive to a lot of green and a lot of magenta.”
If he were to correct this green cast in post-production by adding magenta, it would contaminate the entire image, making the warm practical lamp in the shot turn an unnatural pink color.
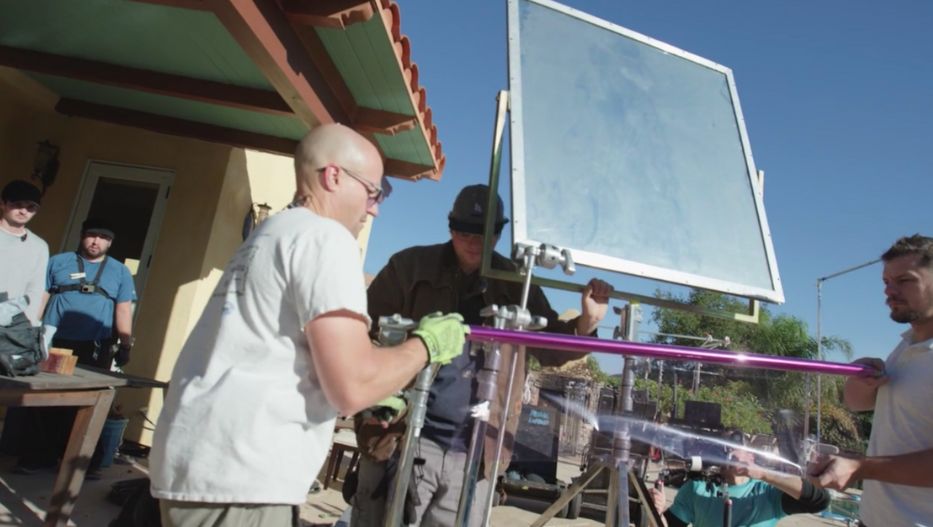
The professional solution is to fix the problem at the source. Shane calls for a quarter minus green gel to be placed over the face of the mirror board. This gel precisely neutralizes the green bias coming off the mirror, resulting in a clean, natural-colored sunlight effect that will match the other light sources in the scene.
THE BOTTOM LINE: CINEMATIC LIGHTING IS CREATIVE CONTROL
This lesson powerfully demonstrates that cinematic lighting isn’t just about adding light. It’s about shaping and controlling light, no matter the source. By using negative fill to create shape and contrast, and then skillfully bouncing the sun itself to add texture and drama, Shane Hurlbut crafts a beautiful, emotionally resonant scene with zero powered lights. This demonstration exemplifies creativity, on-set problem-solving, and the power of shaping what’s already available.
UNLOCK THE FULL VIDEO LESSON FOR FREE!
You’ve just read the step-by-step breakdown of how a master cinematographer lights a powerful scene using only natural light. Reading the techniques is one thing, but seeing them executed in real-time is where the learning truly solidifies.
Click the link below to get FREE access to the complete video for this lesson on the Filmmakers Academy platform. In the full video, you’ll witness Shane and his team work on set, make decisions on the fly, and see the immediate impact of every choice on the monitor. See how stabilizing the mirror board and adding the minus green gel transforms the image instantly!
Click the button below to watch the FREE Video Lesson now!

This free video is the first lesson from our new course, How to Light Day Interiors: Volume 3. If you enjoy it, you can unlock the rest of the course and hundreds of others by becoming a Premium Member or with a one-time purchase.
Available Light,Bouncing Light,Cinematic Lighting,cinematic scene,Cinematography Tips,Day Interiors,day scene,film day,filming day,filming daylight,filming scenes,Filmmakers Academy,Grip Techniques,indoor scene,Lighting Without Lights,Mirror Boards,Natural Lighting,Natural lighting in film,negative fill,on set,Shane Hurlbut ASC